A homestead photo journal connects a photograph to a place, an observation, and a date. The photo records visible detail; the note explains why that detail mattered. Together, they can help you compare plant growth, revisit a repair, or describe a change more accurately than memory alone.
Begin with a question you expect to ask again. Is bare ground expanding near the gate? Does the repaired connector remain dry? Are marks appearing on new leaves as well as old ones? A useful photograph gives the next observation something specific to compare with. An attractive view may belong in the journal too, but it should not stand in for that evidence.
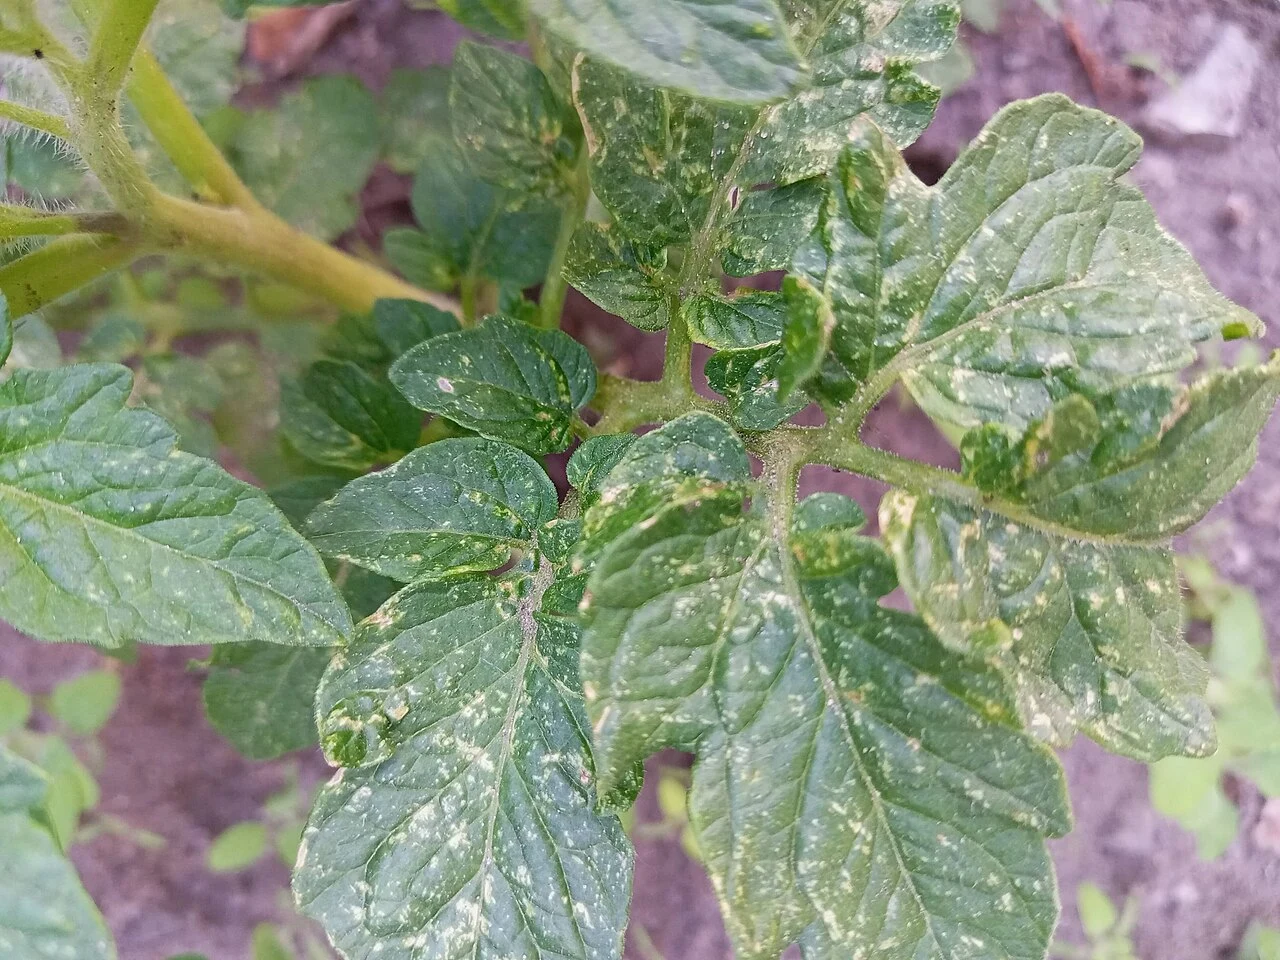

What makes a field photograph useful?
Three things matter: a recognizable subject, visible detail, and enough context to interpret the image. A close-up can show a leaf mark clearly while leaving you unable to identify the plant. A wide view can show the bed while hiding the detail that prompted your concern. Use the view that answers your question, and add a second view when necessary.
For a new issue, a practical sequence is place, subject, detail. The place photograph locates the event. The subject photograph shows the plant, animal, or object in context. The detail photograph records the feature you want to inspect. You do not need all three for every entry, but the sequence prevents a collection of unlocatable close-ups.
Look at the image before you leave. Is the important feature in focus? Is glare hiding the label? Does your shadow obscure the patch you are comparing? One quick check in the field can save a second trip. A photograph that looks good as a thumbnail may not preserve the small detail you need.
If scale matters, include a suitable reference without disturbing or endangering the subject. State its size in the note. Do not infer precise dimensions from a photograph taken at an unknown angle. For measurements that will guide a purchase or repair, record the measurement separately with its unit and method.
Write captions that explain the observation
Use a simple caption pattern: place, subject, visible change, and comparison context. The date should come from a reliable entry field or appear in the caption. If the event date differs from the upload date, make that distinction explicit.
“Bed 2, outer tomato plant, pale marks on three lower leaves; new upper leaves not checked” is a stronger caption than “tomato disease.” It states what you saw and what you did not inspect. It does not turn the photograph into a diagnosis or imply that the whole plant was examined.
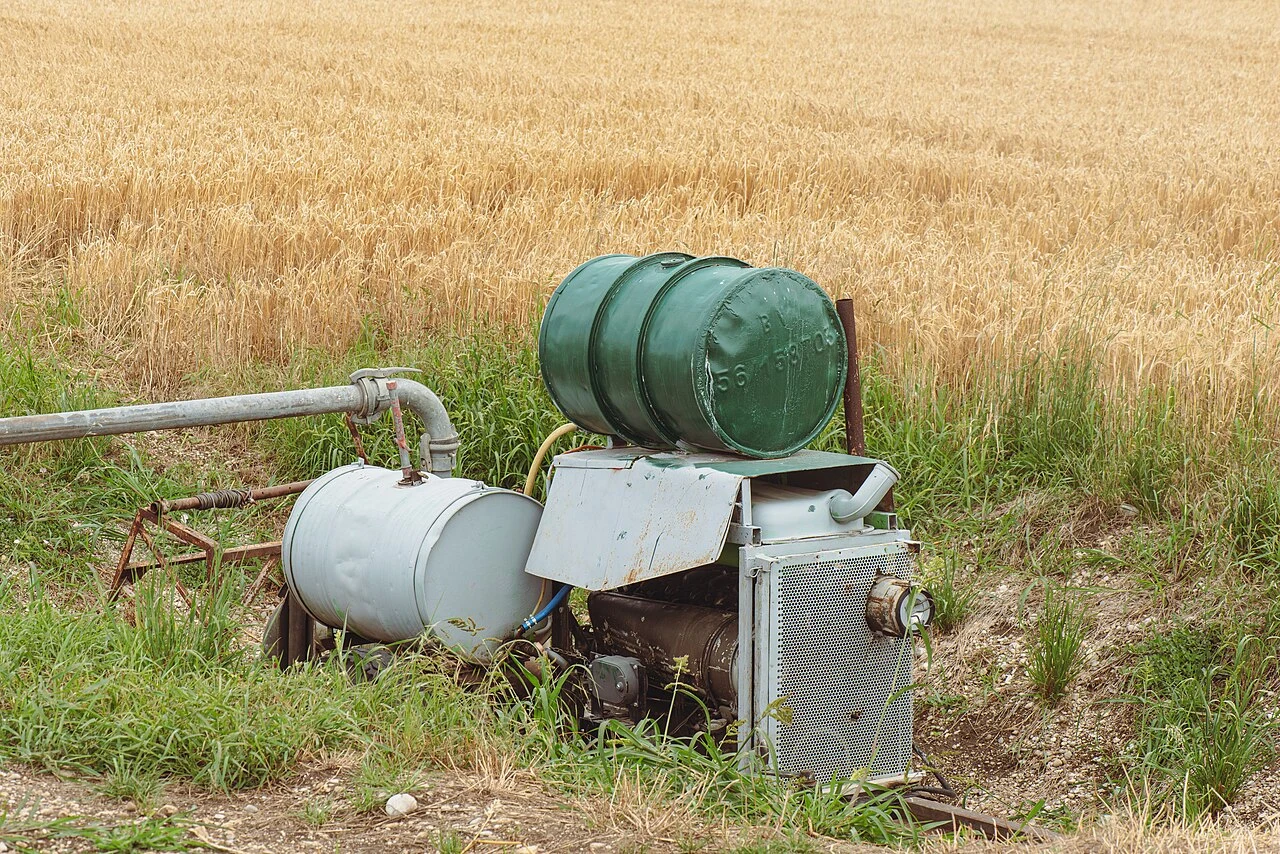
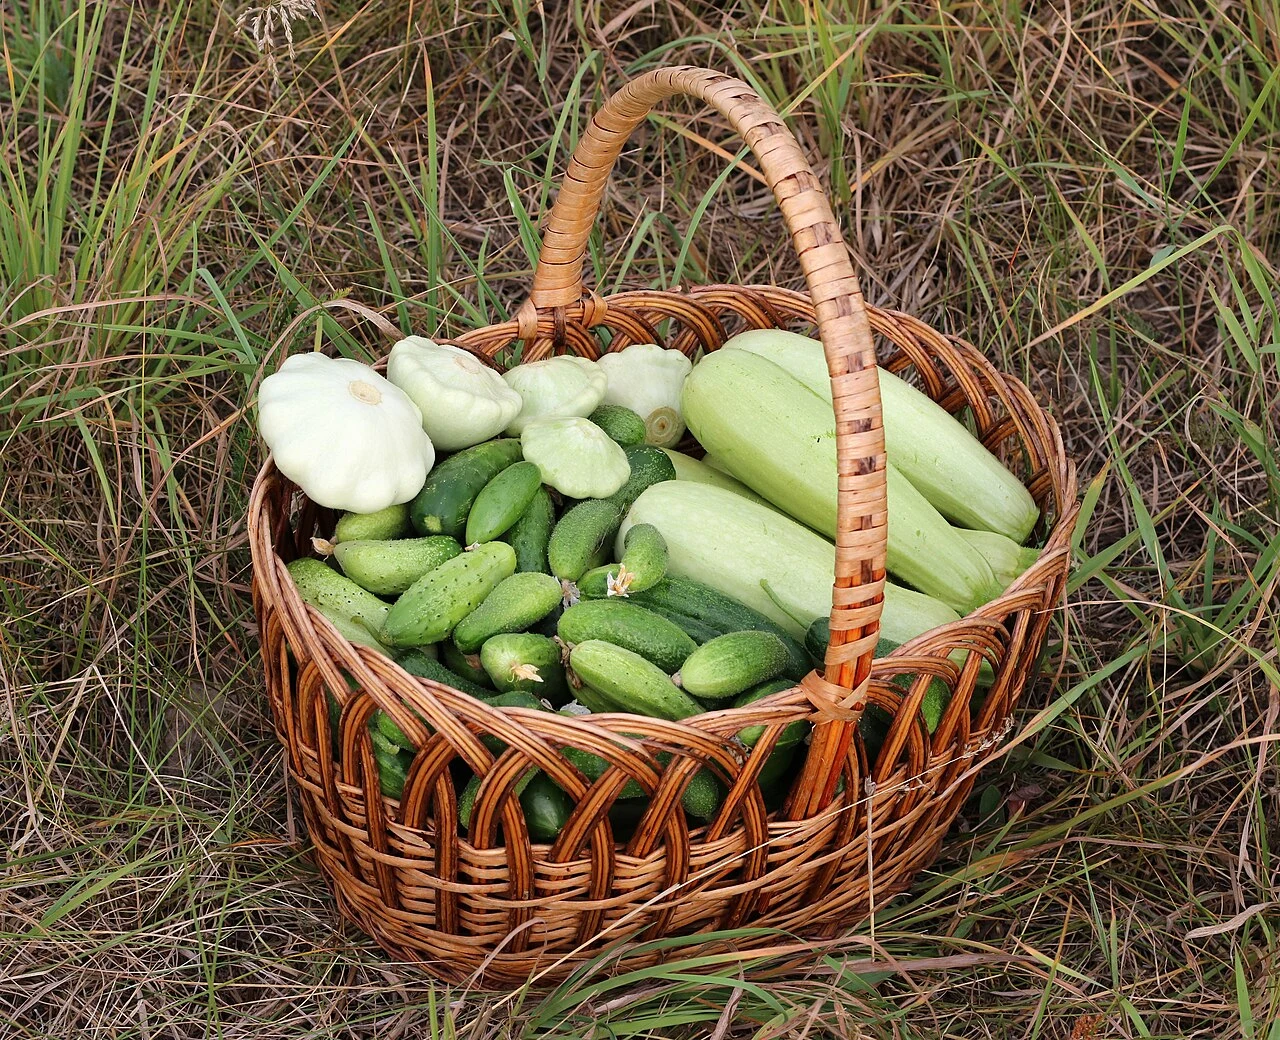
For repairs, describe the part and the operating condition. “Pump Pad, outlet connector, visible droplets during the observed watering cycle” explains more than “leak.” For pasture, record the point and direction: “East Paddock, inside North Gate, facing the large tree.” For a harvest, identify the bed and whether the photo shows the entire harvest or a selection.
Keep interpretations in a separate sentence. “Possible rubbing where the gate meets the post; cause not confirmed” preserves a useful hypothesis without presenting it as a fact. The same distinction belongs in text-only livestock field notes and plant records.
Set up repeat photographs you can compare fairly
Choose a fixed location with a recognizable view. Record where you stand, which direction you face, and the feature that anchors the frame. Use a durable landmark or an appropriate marker that will not create a hazard or interfere with the work.
Try to repeat the framing, camera height, orientation, and zoom. Keep enough of the original view to recognize it after vegetation changes. If you move the viewpoint, document the move rather than silently comparing two different locations.
Light and surface conditions affect appearance. Wet soil often looks different from dry soil, and low sun can emphasize texture. Record relevant differences in weather, recent management, and season. A more dramatic second photograph does not necessarily represent a larger physical change.
The US Forest Service’s photo-point handbook describes repeat photography as a way to document vegetation and soil change, with attention to location, method, and replication. Use that principle for your journal’s comparisons, while keeping the effort proportionate to the question you are investigating. US Forest Service: Photo Point Monitoring Handbook.
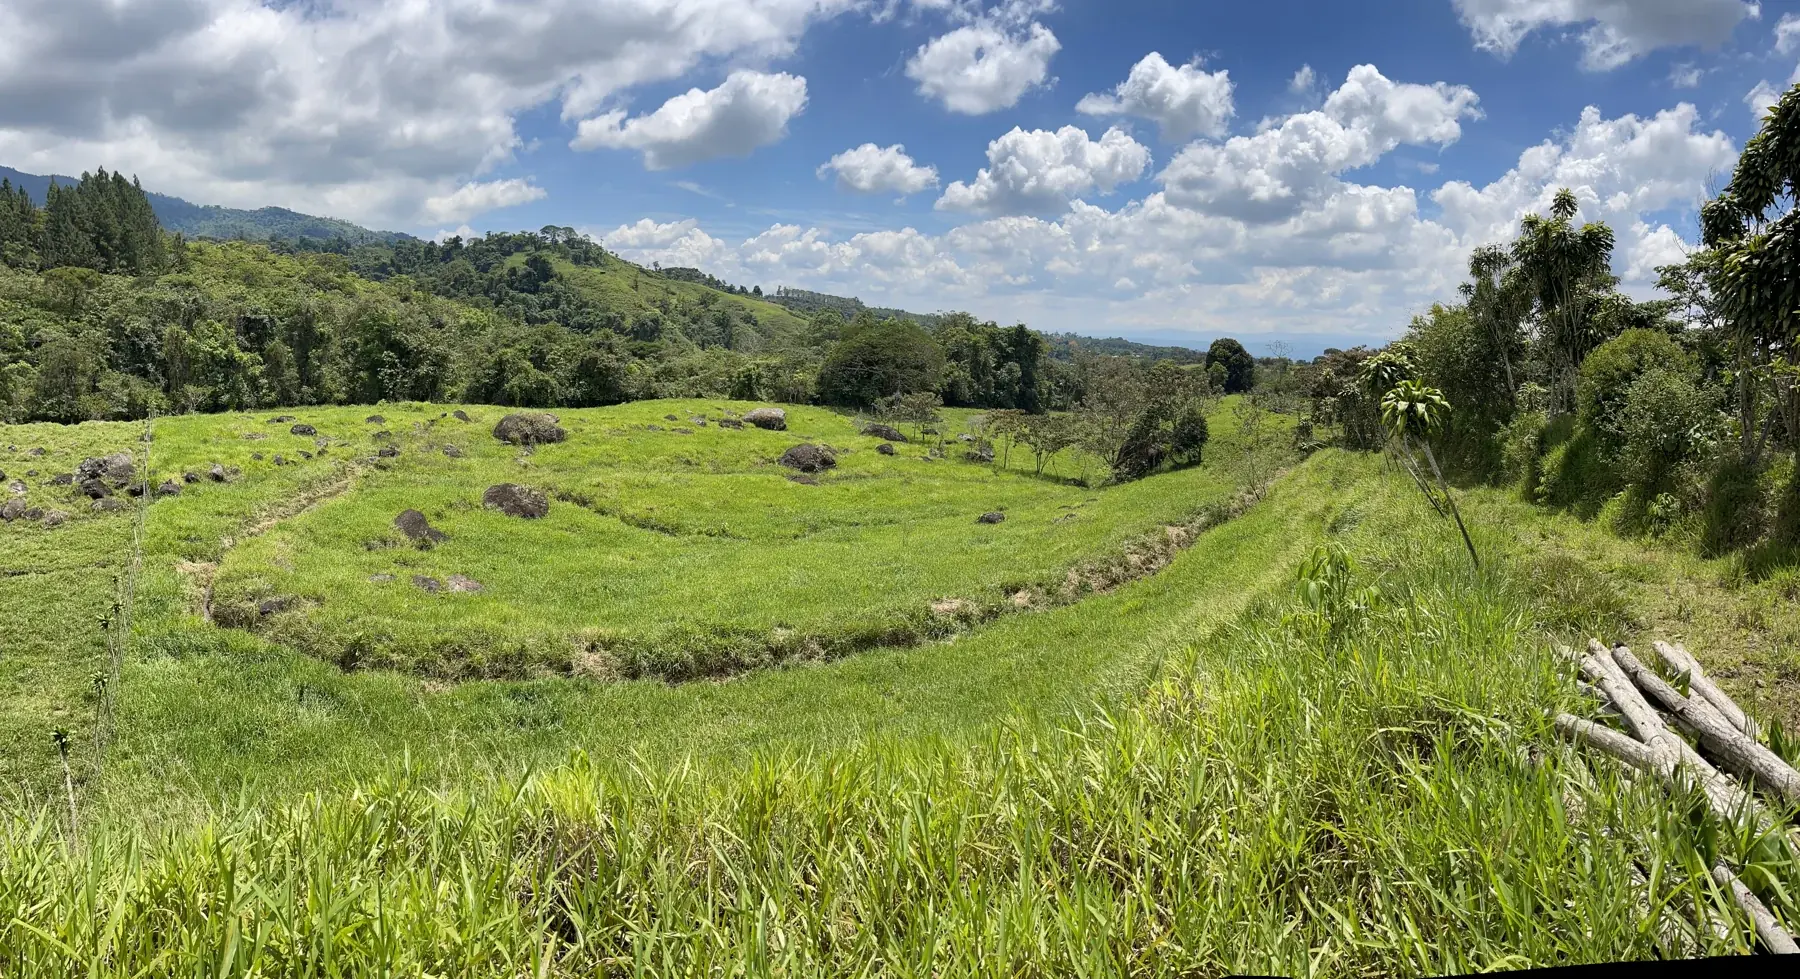
Keep the baseline, including the inconvenient views
The first photograph establishes what the place looked like when you began observing it. Record the date and conditions even if you have already started work. If there is no photograph from before an intervention, do not label the earliest available image “before.” Call it the earliest available record.
Keep views that challenge your expectations. If a mulched bed looks better from one end but worse from the other, both may matter. Choosing only the most encouraging image can turn a journal into a promotional story and make the next decision harder.
Do not create a before-and-after pair from different properties, different objects, or unverified dates. Stock and archive photographs can illustrate a method, but they cannot establish your result. The photographs accompanying this article are identified by source; they do not document the fictional sequence below.
Demo · 4 August: East Paddock photo point established inside North Gate, facing the large tree. 18 August: repeated view after animals left; damp ground and lower cloud cover noted. 1 September: repeated view, no new grazing since 18 August. Interpretation: visible cover differs; rainfall, growth stage, and lighting also differ, so no single cause assigned.
The captions preserve what changed in the photography as well as in the land. You can still learn from an imperfect comparison when its limits are visible. The offline photo field notes guide shows how to keep those images when uploads fail at the field edge.
Photograph repairs as a sequence
Before work, capture the overall location and the relevant part if it is safe to do so. During work, record a removed component or readable label when it will help identify the replacement. Afterward, capture the result under an appropriate check, rather than assuming a tidy appearance proves success.
Keep “after installation” distinct from “checked during use.” A dry connector photographed before water runs through it says less about the repair than a note describing what was observed during operation. The image and the written check should support the same conclusion.
Save the part number as text when you can read it accurately. Record uncertainty if the label is damaged. A future search for a model or fitting size should not depend on remembering which of twenty images contains the label.
Connect the sequence to the homestead repair log. Its purpose is to make the next incident understandable: what failed, what was attempted, which part was used, and what happened afterward.

File a small, meaningful selection
Choose the clearest images needed to explain the entry. Repeated near-identical shots can make it harder to find the one that shows the detail. Selection is useful, but it does not require deleting source photographs before you know the journal copy is complete.
Use descriptive filenames when files live outside an app. Date, place, and subject usually suffice. Keep the event name consistent with the journal, so “North Gate” does not become “top entrance” in the photo folder without an explanation.
Check that the full image is available after filing. A note may save successfully while an attachment remains pending. Open important photographs at a usable size, and confirm that the caption belongs to the right image. Preserve originals until the saved record and your separate copy are checked.
When you crop or annotate an image for communication, retain the original. Label edited versions clearly. An arrow may help someone find the mark you mean, but it should not replace the unannotated evidence. Avoid changing color or contrast in ways that make a comparison look more conclusive than the original view.
Make the journal easy to search
Searchable text should carry the information you would naturally ask for: place, species or variety when known, component, event, and date. A photo-only entry is difficult to retrieve when the visual subject is unfamiliar or when you remember the question rather than the appearance.
One sentence can do much of the work: “Workshop shelf, left side, spare irrigation connectors after the North Gate repair.” That entry may support both a storage question and a repair question. Use links or references to connect related histories instead of creating disconnected copies.
For pasture photo monitoring or any other repeated view, use a stable identifier such as “East Paddock Point 1.” Keep it in every caption. You can then collect a sequence without guessing which images were taken from approximately the same place.
The named places guide offers a way to establish these names. Good retrieval depends more on consistent context than on a large set of clever tags.


Start a photo journal with one real question
Choose a plant, repair, or patch of land you expect to revisit. Make a clear first photograph and write what you want to learn. Add its place, date, and conditions. Decide what would make the next comparison useful and when it makes sense to return.
At the second visit, open the first image before you shoot. Match the viewpoint as closely as practical, then note the differences you can actually see. Separate observation from explanation. If the view is inconclusive, say so and improve the next capture rather than forcing a result.
A useful farm photo log becomes a record of attention. You can see what prompted the original question, what you did in response, and whether later evidence supports your interpretation. That is a stronger foundation for decisions than a camera roll full of images you meant to organize.
Keep the method wherever you can maintain it. To explore Soil Journal’s current experience, visit soiljournal.com.